Sunday, February 28, 2010

Acorn Wreath...tips


My cute friend introduced me to MADE website. I didn't know that I w
as the last one in the world to know about her. She's cute, and shows us cute things. you should head over there. This month was about making stuff for little boys. Some of my favorites was the toy car holder, and the spray painted pillows. maybe one of these days I'll get aroun
d to making them.

Well I was snooping around her website and found this Tutorial here.
a group of us moscow mamacitas do a bunco night. for prizes we are suppos
e to bring something used, make something and if you really want to, you can buy som
ething. Just so you don't have to spend a dime if you don't/can't.

So I saw the acorn wreaths and thought CHEAP and SIMPLE. And it goes PERFECTLY with our THEME! (home decor)....
My plan was to do 2. One for me and one for bunco.
Spray painted Green. cause I have NO St. Patty's day Decor
and it would also work with the new season! SPRING!!

well I was wrong about one of those things...it being simple.
i guess it was simple in that it didn't take master craftsman skil
ls to hot
glue a million kidney beans on. but it ending up being way more time consuming that expected. Plus I made two. one for me and one for the winner. and I had way more complications.

This is how it turned out. and here are my tips.

Lots of glue, in the tutorial she says it takes a lot of glue, but make sure and smother them. I had a bunch of them fall off while painting :( and handling. and another mistake, I did--I threw away the beans when they fell off. save them because that g
ap becomes pretty noticeable.

If you are spray painting it with a nice color spray paint (which probably means $$) and you are doing more than one wreath.

PRiME! since the beans are so dark it took a whole can on one little
wreath. Spray paint them white first. You know, the inexpensive white paint. b
ottom shelf matte stuff.
if you are doing one wreath then plan on using the WHOLE can.

even with all that paint, it wouldn't stick on some of them?? beans.

It was a good project, and the kids helped.

The Bunco Wreath looked like this...green with wite fabric. Pic co
urtesy of MADE


I ran out of White scrap fabric so used some pink scrap fabric
Photobucket

Photobucket

These are two other versions found on her wesite. you have scroll back a lot, and there might even be more colors?! My very fav is the white and orange.
I'm in love with orange lately!

They are great though, aren't they?
I think they would make great presents for your girlfriends! who doesn't like something to spice up their homes?

Friday, February 19, 2010

Cheeky Clean Gloves tutorial


UPDATE:
Although, you still can, I would advice against sewing the lace onto the glove. Just Plain ol' Hot Glue works great. and a stitch or two (or 3 or 4) around the glove to make sure it is anchored is what I recomend.
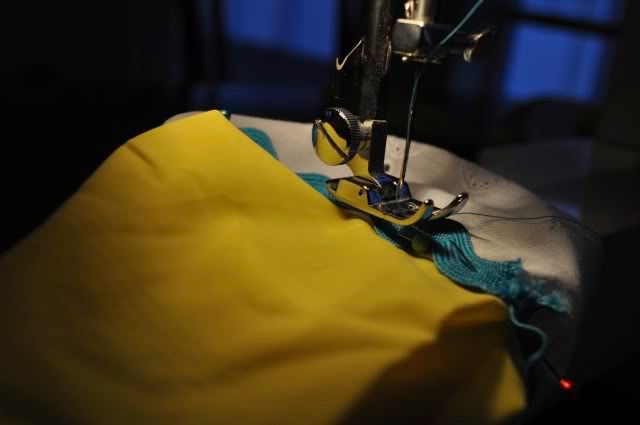
Sewing on ric-rac and various accessories though is pretty essential. Sew on accessories, then hot glue. Then buttons.
This is what happens when you sew them on all the way around. It perferates right around the top a nice little line so when you pull the gloves on...wa, la! pops right off. like tearing off a coupon. not good.

So on with the tutorial....


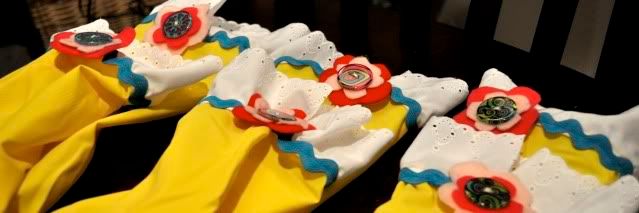
My friend made me some cute gloves for my birthday. I LOVE them.
Photobucket

So I thought I would return the favor for a few of my friends.
There is so much creativity you can add to these things. Take the instructions and make them your own.
Get grazy trim and go wild. Yourself and friends will love them!

Materials:
MEDIUM sized Mr Clean gloves
(4 come in a packet! $1.88 at Walmart!)
22 inches of the white lace trim )11 inches for each glove)
21 inches of ric-rack (10-10.5 inches for each glove)

Start by cutting the fabric to size.
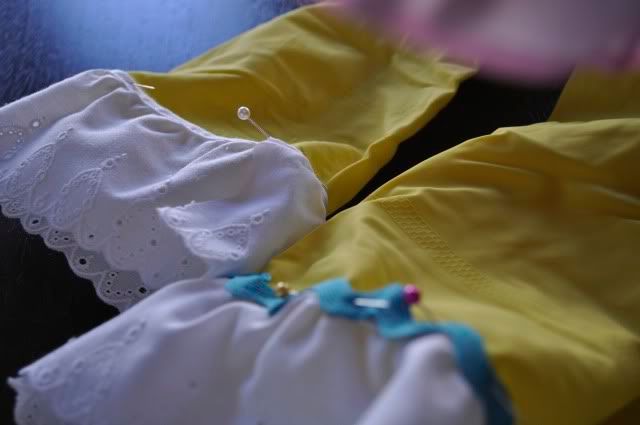
Pin on.
Photobucket

SEW
-there are various ways that you can sew on and piece the White lace, if you don't want an open seam, you can sew it closed then pin on.

Photobucket

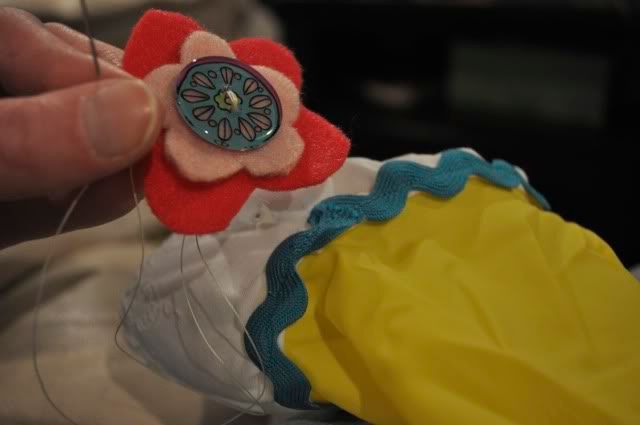
Add accessories
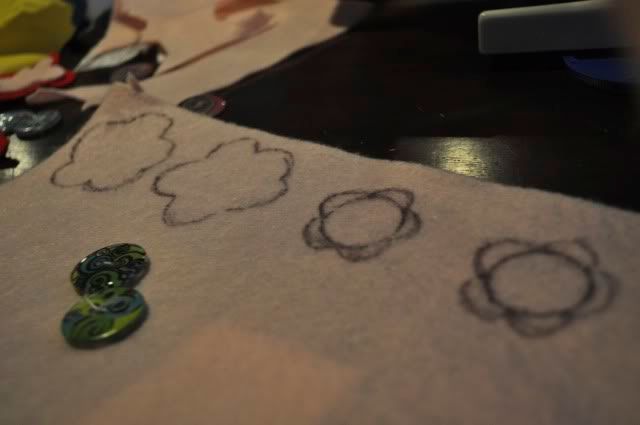
Fowlers, roses, buttons, anything! I like it because it fovers up the seams.
I did them all the same. I know I know, so boring but I really didn't have much time to make these. So I just got bulk items (cheaper) and got them all done fast.

Photobucket

Photobucket

Photobucket

Photobucket

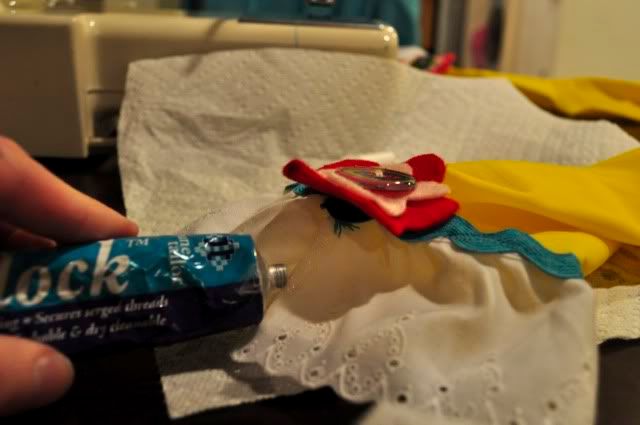
Insead of sewing up the seams, as said above, I just used a no fray liquid. and t worked great! so much easier too.

Photobucket

Clean away!!

Photobucket

Saturday, February 13, 2010

Jackie

Photobucket


Photobucket
My new work-out buddy got to talking the other day...about making bags. up and down on the eliptical we decided to do it.
1st we would go fabric shopping
2nd we would let the kids run footloose and fancy free on day and make the bags together.

So we did it, this week!
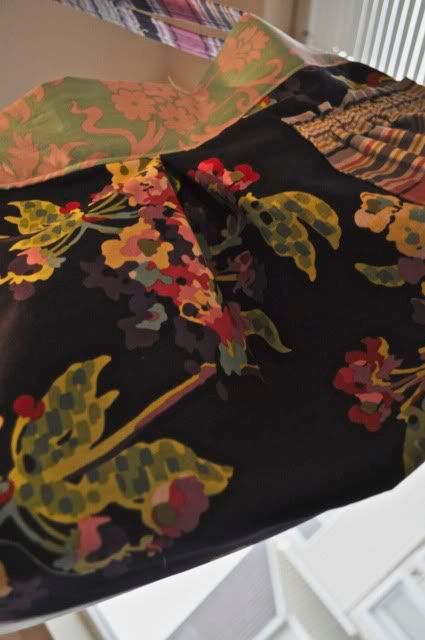
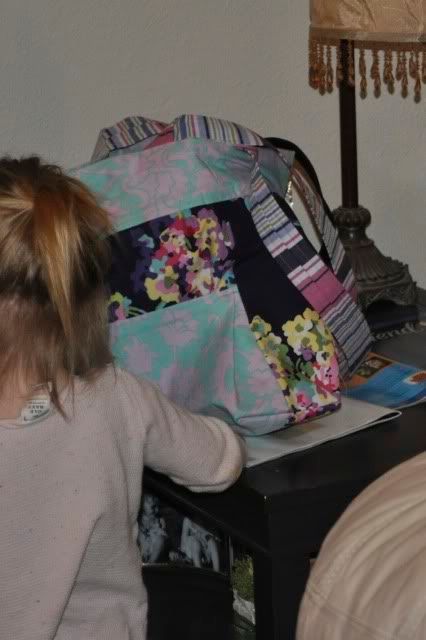
I made her a diaper bag, and she worked on a simplier bag, for church. I wanted to teach her the basics then she can go crazy and make the coolest bags. She totally has it in her.

We went to the local quilting store and she picked out the fabric. SOOOO cute. It's Amy Butler

I went home and cut, then we sewed.

She wanted it longer, than taller. large, but not too large- so when she is running errands by HERSELF {ahh, serinity} {Did I meantion she has 3 kids under two? Twins and a newborn.} It doesn't look like she has all of africa in it, or could fit it in.

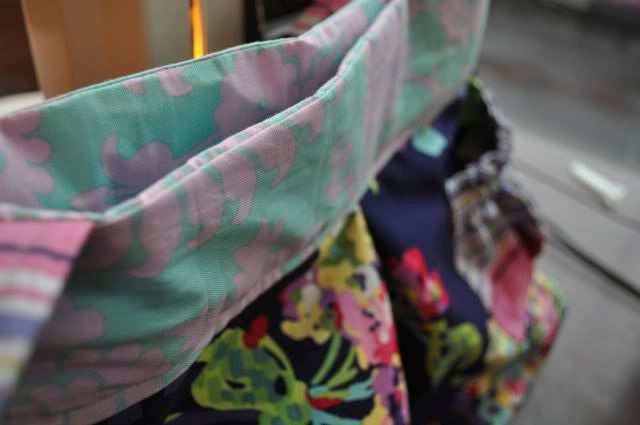
She choose 6 pockets-
4 inside (3 on oneside, 1 chapstick/wallet)
The pockets aren't REALLY that short, just the way the pic was taken. I was flashing fast.
Photobucket
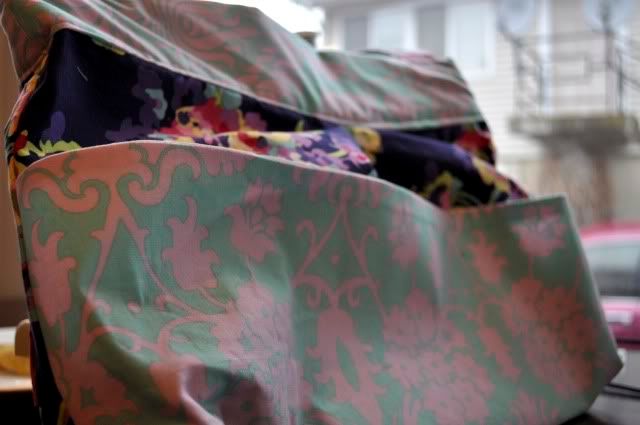
1 outside (specifically scrunchie)
Photobucket
and one REALLY large pocket outside for whatever.
Photobucket
2 Long Handles
magnet closure
all the good stuff.
Photobucket


Photobucket


Photobucket

Saturday, February 6, 2010

Valentine's Idea


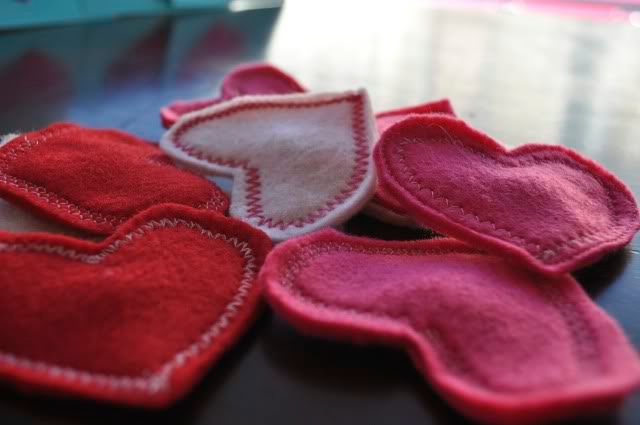
I know the blogging world is busting at it's seems with Valentines Ideas, and on top of that you have probably seen What is below on a couple of blogs. They are cute, easy and fun. You can switch them up and make them fancy, simple, crazy- whatever. They take 2 minutes, and cost about 2 cents too.
Here is how I did my take on them.

The Cards
Photobucket

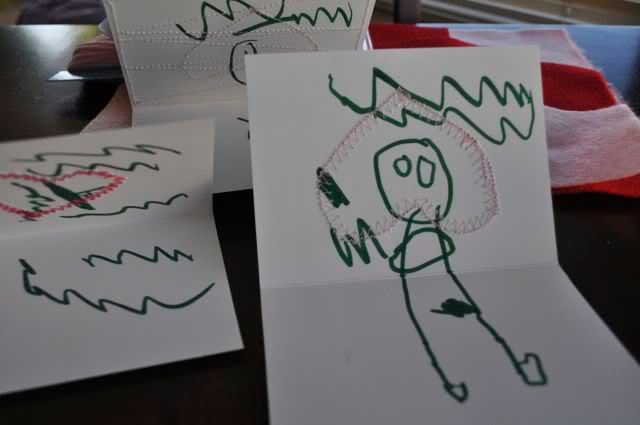
I got the $1 cards at michael's. NICE! right, Envelopes and all. They had a small message on the outside- but I'm planning on covering the front anyway!
Photobucket
Sydney helped me out by gluing and pasting the hearts, and writing a personal message.

Common, can you get a more heart felt message than that?
Photobucket

I sewed them on using various stitching.
Photobucket

Photobucket

Photobucket

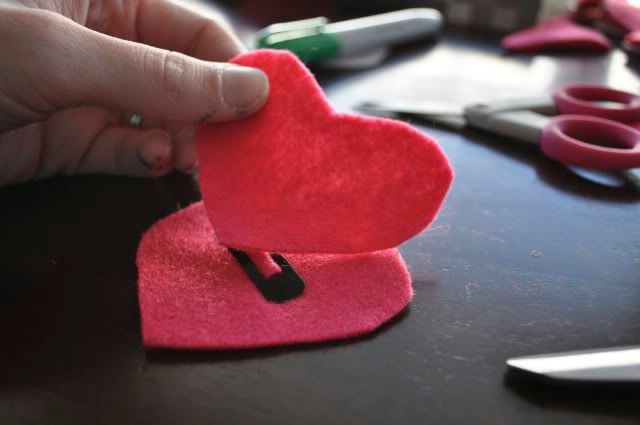
For the hair, I bought the clips for $1 at Walmart
Cut out two matching hearts, slipped in the clip
Photobucket
sewed them together using various stitching :)

Photobucket
Easy.
Crochet thread looks really cute on these. Or stick in a little lace before you sew? so many possibilities. I was feeling like going the simplistic {easy} way today. I got vacuuming and dinner to make.
But I still think they are stinking cute.

Photobucket

Monday, February 1, 2010

Entry Way


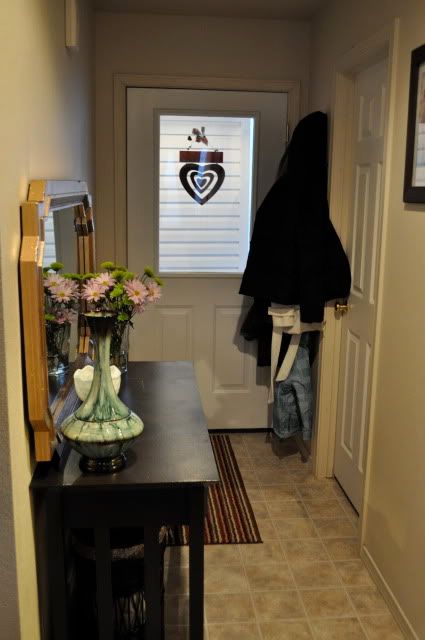
Other than a few accessories and pictures I think my entry way is finsihed. Take a look of the before and afters and tell me what you think!

Although our house has plenty of space and lots of closets it does lack one thing. A hall closet or a place to store coats, shoes, umbrellas etc. So I need to have something for our coats and our shoes- for guests coats and shoes.
This is the BEFORE.
We have had this mirror/coat rack forever...since we were married. I love it, but not so much for the entry way. it just looks cluttered. un-impressive. blah.
Photobucket

and the little rubbermaid fake wood cabinet thing is a recent move-down from upstairs to try to hold all our winter accessories.

Photobucket

As for the mirror we moved it to the bathroom. It holds our towels perfect. Enough of ours, and the kids. The towel rods only hold two, and our towels don't always dry on them. I hate it when towels are wet and smelly. Hanging them here solves all our problems:) and looks better!
{If you are looking for it, I think wal-mart is still selling them. like I said ours is 6 years old, but I swear I saw them there recently. around $30...more than we paid!)

Photobucket

Back to the entry way!
After all my projects were done I put them on nicely.

Photobucket

Found some bargan baskets- one for boots, one for scarfs and gloves.

Photobucket

Great hooks at IKEA, super cheap! 4 of them for $4
Photobucket

although- I would say THESE are my favorite. just a little
more dough. 3 for $10, so w
e would have needed 2 packs. and not all the hooks.

I LOVE how they fold right up- disappear.

Other than the mirror the accessories on the table will change according to season and how fast I get sick of them.
Here is the Final product!

I will add, I think I will like the likes of this better in the spring when there will be bulky coats 0BUT when you open the door you are no longer bombarded by coats!
Photobucket

The GOLDEN ticket

After painting the table, it needed accessories.
I really want a LARGE mirror to go on top of the table (maybe hang over) because there is NO {artificial} light in the entry.
There is however a window in the door- so we get some light. and the mirrow would be perfect to reflect what little light we get sneaking in- to light up the hallway.
That's way- the bigger the mirror the better.

So I went shopping. We have limited stores here in Moscow. and the few that I went to this is what I found.
I went to Ross- and found a big mirrow for $50. out of my price range.
a small mirror for $12.99....I didn't want to settle for a small mirror YET.

Wally World (walmart) a med mirror that was..soso for $30 and up.

THEN a day or two later we walked into the local Salvation Army.
and I found it.
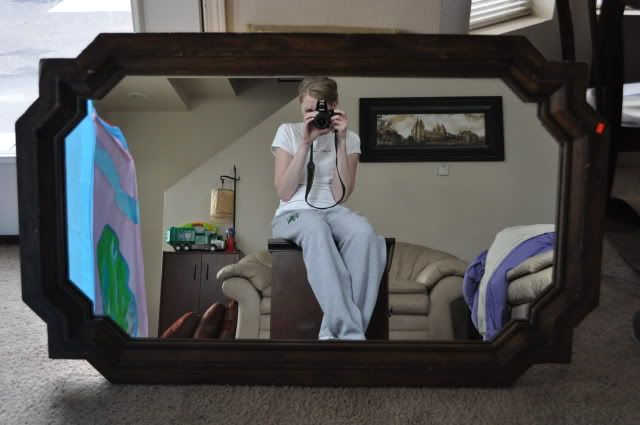
a GIGANTICALLY HEAVY mirror for $15.50
I mean- sure you can get a cheap mirror at IKEA, or an expensive mirror somwhere else- but its mass produced! its' not unique. this mirror is one of a kind. That is the beauty of thrift stores!!

With Flash..yes I like my sweats.
Photobucket

W/o
Photobucket

What did I do next? Well, I knew I would have to prime it. so I did that while I decided on a color.
Here are my thoughts on a color.
I had none. I wanted it to be bright- but not flashy or cheesy. Neons OUT. I wanted it to go with the rest of my living room and house- BUt I wanted it to be different. I don't exactly love the style of my house. I kind of want to re-vamp it. and Seeing that I'm not make of money, I will have to do that slowly. I can incorporate things into my current design scheme that are new but still go with the flow.
I then had it.
GOLD.
but I don't have the money to buy gold sheets, nor did I want to with all the crevices. blah! way to much work for the time I had to put in this.
spray paint?
I tried. it.
I think I like it.
well, I love it. I love the gold color- but the overall look sometimes looks a little too...something?
it totally does it though. IT works perfect for me!
Photobucket

Photobucket

Tables

Since I moved into my new place I have been searching for the perfect entry way. I think entry ways are awesome, and so many things you can do with them. Benches, chairs, tables, cubbies, paint, decorations.
But I have also become addicted to the thrill of thrift store shopping. When I'm buy a thrift store, or driving by one I just pull in- run in and walk around. It's not like they are HUGE here. I usually have a few things I'm on the hunt for- so I know exactly what I'm looking for. If they don't have it I leave. it cost me 15 minutes or less. If they do have it! adrenaline rush and hello I just saved us so much money by buying it here and not new.
And I must say another plus- whether I find something or not the kids ALWAYS find something. and common, a book for 10 cents or a car for 50 cents isn't going to break the bank- but it will keep them busy for the rest of the day, while running errands. win win situation! haaha.

First of all- I've gotta say, I ALWAYS forget to take the before pictures. I'm sorry. That kind of blows the big finale, you'd think I'd learn haha. Well, I haven't. but I'm trying for the future to REMEMBER!

So one of my first hunt involved a side table for my living room and I found this table for like $10.
I didn't mind the color. I liked the cool arches and it was a good size. wasn't too 70's as thrift store end tables tend to be now-a-days.
The only real problem was it had big scratches and places where the top had rubed off.
This is the only pic I have of it! and you can't even see it. maybe a little?
Photobucket

Next was a sofa table. THIS is the real find. I was chatting with my friend- Queen of Garage Sales, we will call her.
I had just run into her at JoAnn's.
She told me she was recovering a bench for her entry.
I told her I'm dying to find a bench or sofa table.
Then she offered me her sofa table she got a a garage sale. {for $5 I must add}
and I took her up on it.

So the painting began.
Syd and I primed the tables with an oil based primer.

Then I decided on a navy blue. All my {hard} furniture is black or brown. Navy would be a nice variation.
I got Midnight blue...and we painted.
Photobucket

Photobucket

PhotobucketWhile I was doing the primer on the end table I noticed how the original stain was darker in the arched and seams and ridges. It was nice. It added depth and a subtle beauty. So then, I also decided- as a finishing touch I would add some left over stain to the surface of the tables. and it works. It totally made the tables.
BEFORE in Natural light
Photobucket

BEFORE in FLASH light
PhotobucketStain

In Natural Light
Photobucket

With FLASH, so you can see the stain (You CANNOT see these streaks when you plan look at it)
Photobucket
Lastly, I made a mistake. {still haven't fixed it...} I did a spray varnish. It totally did NOT go on even. parts of the table are no shiny, and other parts are perfect. It makes me mad because not only did I spend SO much work, but I did follow the directions to a T.
I tried to fix it by adding a wipe on poly to the top- and I LOVE the wipe on poly.
USE it in the FUTURE! its great.
It didn't exactly fix my problem. It helped a little. But I have learned my lesson.

VERY LAST- was some great hardware from HomeDepot. (I didn't try LOWES) but around here, that was the best price!
Photobucket

Photobucket