 At Christmas I had all the motivation and inspiration to make the nieces and women in my family the cutest darn aprons they have ever had in their life. The little girls...I made up. they turned out PDC (pretty darn cute) but after 5 of those aprons I was fizzled.
 On top of that, my sis wanted a FULL apron. This is the apron I was going to make her...not full. And My mom hardly wears aprons so motivation gone. I didn't want to make them if they wouldn't need them...?
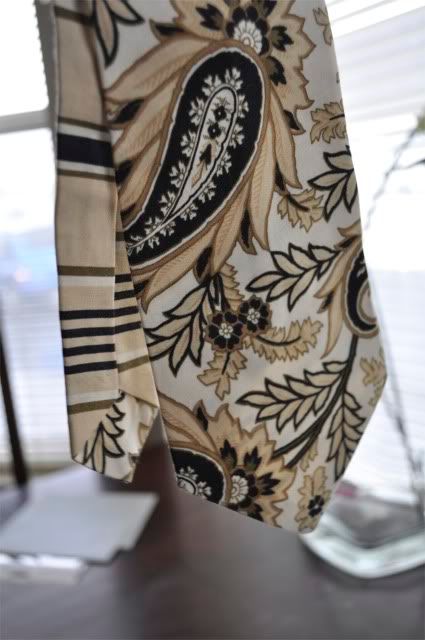
Well, Aubrey Celebrated her birthday this month, and I finally got her present off in the mail so I can post about it with out ruining the surprise. I made her aFULL apron and gave her a bunch of kitchen things. Some of them fun (like the cheeky gloves) some of them necessities (like a fancy snancy peeler....specifically the titan peeler, LOVE IT)
I made up the FULL apron, since most the tutorials I find are all half aprons. And it ended up being easier than expected.
3/4 yard of 2 fabrics (for reversibility)
1/2 yard of complimentary (this will be the band/ties)
Pocket fabric you'll have plenty of scraps if you want to use the above fabric
bias tape (optional...instruction on another tutorial listed below)
So I started with the bottom. DUE to the numerous tutorials out there for half aprons I'm not going to go into detail on how to make the bottom. I would recommend using Mellissa's Grandma's Apron, I did some of her steps as you will later see.
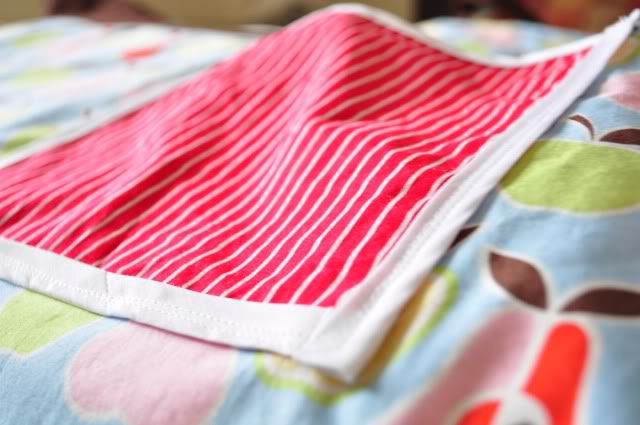
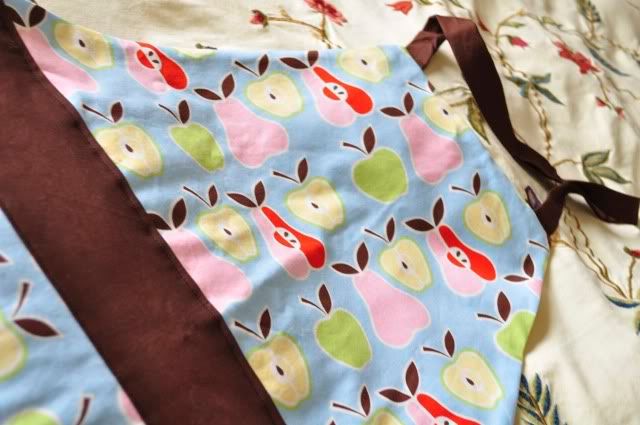
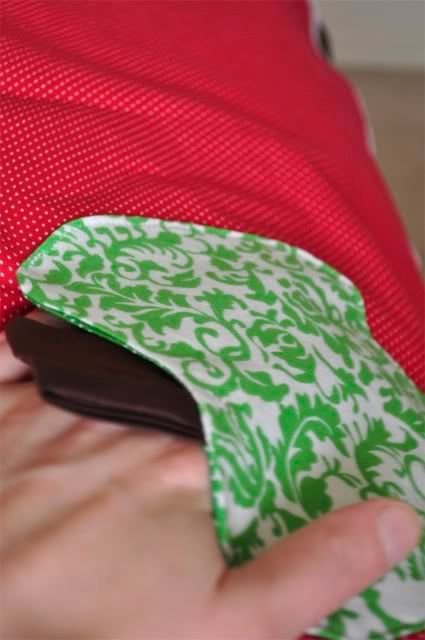
I took (2) 1/2 yard of fabric, cut to shape and sewed on complimentary color pockets. Even one in the shape of an Apple. Ain't it just adorable?
Then I sewed right sides together and flipped it out. Pressed.
I really liked the look of my friends Apron with the double bias tape... I wanted to try it. She has an awesome Tutorial. Go here to learn how to do the bias tape. But this step was just for decoration, it's not needed if you won't want to spend the extra money or time.
ok so you have the bottom done. Here is how I did the top. using the left over fabric I cut 2 trapezoid shaped pieces. One in both colors.
The top length is 10 inches, bottom length 16, and the height 15 inches.
Press the 1/4 inch of the top and bottom in, so they will be easier to top stitch.
flip so the Right sides are together and sew the diagonal sides 1/2 seam allowance. Flip right side out again and press for nice clean edges.
Cut a 2x22 inch strip. fold and Sew it right sides together, flip it through and press.
insert one inch in top & top stitch the now 9 inch opening, closed.
Now for the band.
cut the following.
(2) 5 inch x the width of your apron (mine was probably about 22-25 inches)
(2) 5 inch x 45 inches (the length of your fabric)
with the (2) 5 x apron width pieces of fabric- press 1/4 inch in, on the top and bottom (long sides)....it looks like this. This is the band.
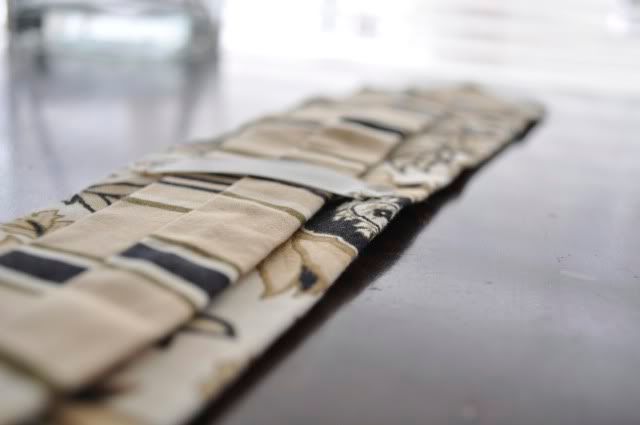
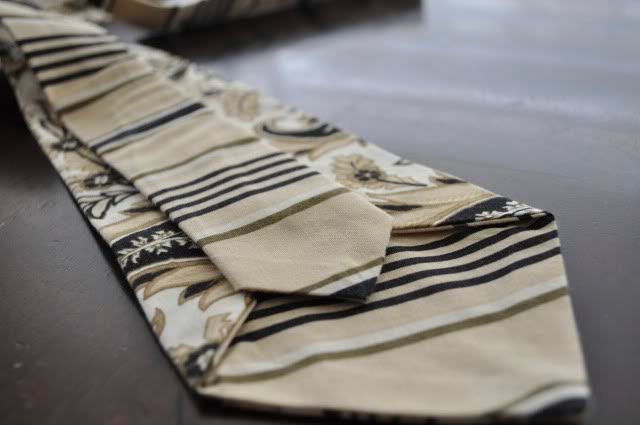
with the (2) 5 in x 45 fold over, right sides touching. Sew one end closed and down the length. Flip through. press. These will be the ties.
Take the band place right sides together. (so the seam you just pressed is facing out now.)
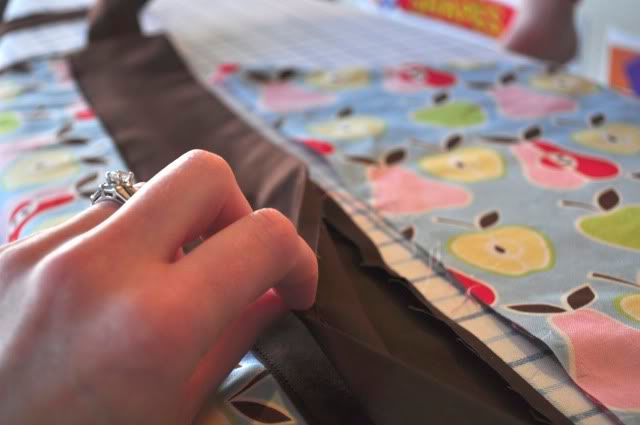
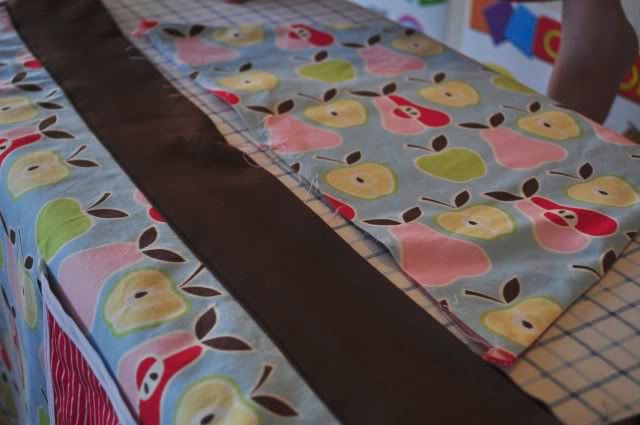
Place the ties in between the layers, with the unfinished end poking out of the short 5" sides, one at both ends.
The whole length of the ties coming together in the middle.
pin in place. Sew the ties into the 5" sides.
Flip right side and press.
Now pin the top and the bottom and top stitch them together.
Done!


