Monday, March 28, 2011

Springtime Girl's Dress Tutorial


Springtime Girl's Dress Tutorial
 Features:
Dress instructions with Options A: Bowed Back and Option B: Bunchie Skirt.


Ready to make a simple fun dress? If your little girl is anything like mine, she lives in dresses! I hope you enjoy this tutorial. It is hard to go wrong with this dress. Very detailed instructions are given, but don't be overwhelmed.  Once you get started you will see how truly simple and quick this dress is! Happy Stitching...

Materials needed :
  • ·         11/3 yards fabric*
  • ·         2 inch Elastic
  • ·         Needle and thread (for Options A and B)
*I used a textured fabric much like a Tutti Frutti material.

STEP 1:  Measurements  and Cutting

Measurements will vary depending upon the size of your child. However there are a few standard amounts to add for seam allowances and hems. 
A. Measure around chest of child and add about 3 inches. (2 inches for comfort and movement and 1 inch for seams.) If you are making this for a very small girl maybe only at 1or 1.5 inches for comfort.  My number was 23 + 3 = 26 in.
Cut your 2 inch elastic to this length.

            B. Measure from the front of the chest to the back where straps will lay. Again this will vary, mine   was    12 inches.  Cut a strip of fabric the width of the yard (so 45in) x 4 inches. Set a side. This will be used for straps.  (Do Not Cut length of strap yet. You should just have one long 4 in. piece to accommodate for Option A). 

              
                 C.  Measure from chest to desired length.  Add 5 inches for seams.  If you would like to do Option B: Bunchie  Skirt add another 5 inches or so.  My measurement was 30+5+5= 40 inches.Cut fabric to this length. We will use the entire natural width of the material. 

STEP 2: Sewing the Hems and Seams. 

A.     First iron down about ¼ of an inch on the top of the fabric.
B.     Then fold again and iron another 2.5 inches and pin into place. This will be the top of the dress.
C.     Sew from one end to the other close to the edge of fold, reinforcing ends.
D.      Make a ½ inch inseam on the bottom raw edge.

 STEP 3: Sewing the dress closed and elastic in. 

A.      Sew right sides together along length of dress from bottom up stopping BEFORE sew the large 2 inch inseam closed. Leave that open for your elastic.
B.      Thread your elastic through inseam using a large safety pin. Once through, overlap elastic and sew together with a zigzag stitch.
C.     Pull edges of fabric together over showing elastic and sew closed with another zigzag stitch.

Now you should have basically a tube top and you just need to sew on the straps! 

STEP 4: Sewing on the Straps

First take your one long strip of fabric and cut it in half.  Sew right sides together and turn inside out. Press flat.  Put the dress on your little girl and pin straps in place. (Make sure that the material is even scrunched around the front and back to avoid large clumps of material) There is no science to the pin of the straps, just what looks appropriate and comfortable!  Take off carefully; don’t poke her with a pin! 

A.      Sew front straps on the inside of dress where pinned. It’s okay to sew over the elastic and scrunched up material. Again on this I used a zigzag stitch. STOP- if you would like to do Option A now is the time, refer to instructions below… otherwise continue. Repeat for the back and trim off excess material!! 

And you are done!!  Way easy, cheap and fun!

 IF YOU WOULD LIKE TO DO OPTION A: Bow Back

Instead of sewing the back straps on the inside of the dress sew them on the same location you pinned them just the outside of the dress. 

A.      (already done)
B.      Take the end of the strap and fold it over about 2 inches.
C.       Fold again overlapping about 4 inches.  There should be a small gap of strap left next to the dress.
D.       Take a threaded needle and in and out through the middle of the 4 inch fold making sure to catch all layers.
E.       Synch tight and wrap thread around and secure. You have a bow! Now just twist it so that is lines up with the strap and sew on with the needle and thread. Repeat to the other side!

Truly the bows can be worn either front or back, but me and my daughter decided the surprise bows in the back were the best.

IF YOU WOULD LIKE TO DO OPTION B: Bunchie Skirt

This is so simple it’s ridiculous but so fun.  Hang the dress up so you can visualize the skirt well. 


A.       Pinch together about 4-5 inches of fabric.
B.      From the bottom thread needle through both layers of fabric, but only just a tiny amount. Loop through twice. Pull tight and tie in knot with other end of thread. Let fabric fall back over stitch. Repeat to your heart’s desire alternating levels on the dress! (I think I did about 10 all around.) 

 
OTHER IDEAS TO FLUFF UP YOUR DRESS:
  • ·         Add large buttons at bottom of straps.
  • ·         Make a matching bow can be pinned in dress on one side.
  • ·         Sew on Lace border to bottom. 

Tuesday, January 18, 2011

Flowers are all the Rage


Seriously? the last time I posted was OCTObER. That is pretty sad. What is even worse is I really havent done much worthy of a post. Made some kid crafts here and there, some bags like the ones you normally see, and then a few for christmas that was fun.
But honestly, being only 19 weeks now, I feel like I have been 9 months the whole time. Getting my home and kids as they should be is big enough challenge let alone trying to throw in extra projects for myself. Makes me tired just thinking about it.
So i'm sorry I've been lame...mostly for my friends. They are the ones who get the cute presents for birthday and just plain being there. I love my friends...

So for MY birthday I got cute flowers from Amy. I couldn't help but show you...scroll down, she make me the blue and white stripe and tan with black stripe. So cute and they go with everything.

And since Flowers are ALL the rage I wanted to make some for my relatives. Sisters, mothers grandmas etc. I only wanted to share a few details on how me and a friend figured out how to make them. We combined a few of the popular tutorials out there and some of our own taste and feel they are so much easier this way ;)

We used these two tutorials. I know Amy (blue and tan flower) used the first tutorial....
which I liked. We cut 5x5 squares, but in the end thought they were on the big side. So in the end we did 4x4 sqares and they are beautiful.

However, this lady sews EACH and EVERY little flower. and when you are doing 6plus little flowers to make 1 large flower, thats a lot of sewing. especially when your making 12 flowers.

So we used this ladies technique of HOT GLUEING the little flowers. love it.

With each flower I would put about 6-7 of the petal things...
we used some linens we thought were cool. But if you are worried about them fraying (linens do fray) then make sure you take that into consideration.


Birthday presents to me, from Amy.
not taking credit for these cute things!! But I want to show you more ideas.


My sis Aub made this one for me:) cute, totally different style.

Sunday, October 3, 2010

~A~

DSC_0079

Amber, who always ends her emails in a loving ~A~, is my sister in law. I could not ask for a cuter, spunky, funny sister in law. It's really too bad we live at opposite ends of the country. I miss her and her sweet girls all the time. ALL the TIME.

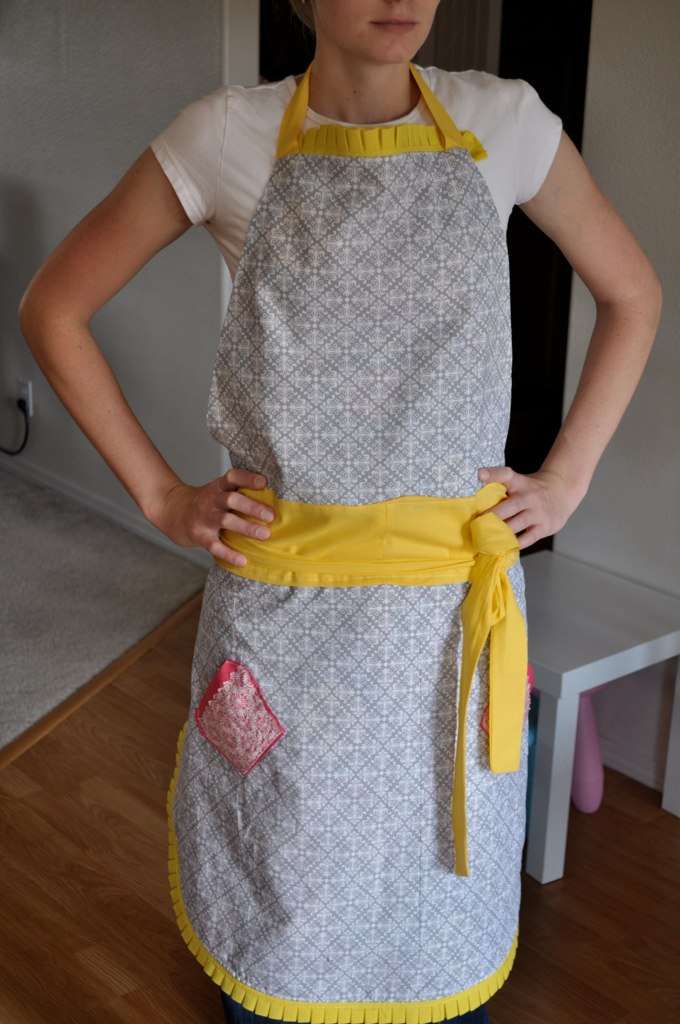
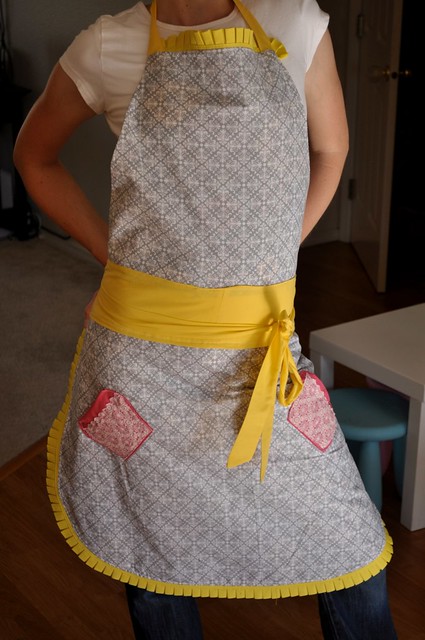
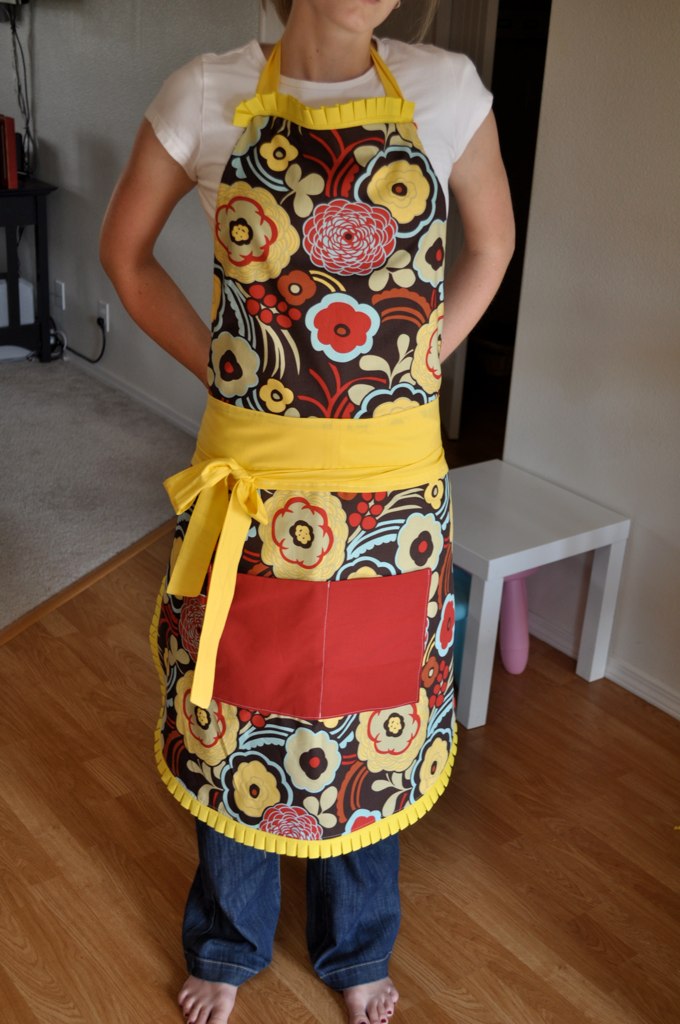
Well, Her birthday was a little bit ago and I knew she wanted an apron. Well, Dale (MIL) informed me she wanted one so bad. And she even used the ones I made for the little girls at christmas. How can deciding what to get someone for their birthday get any easier.

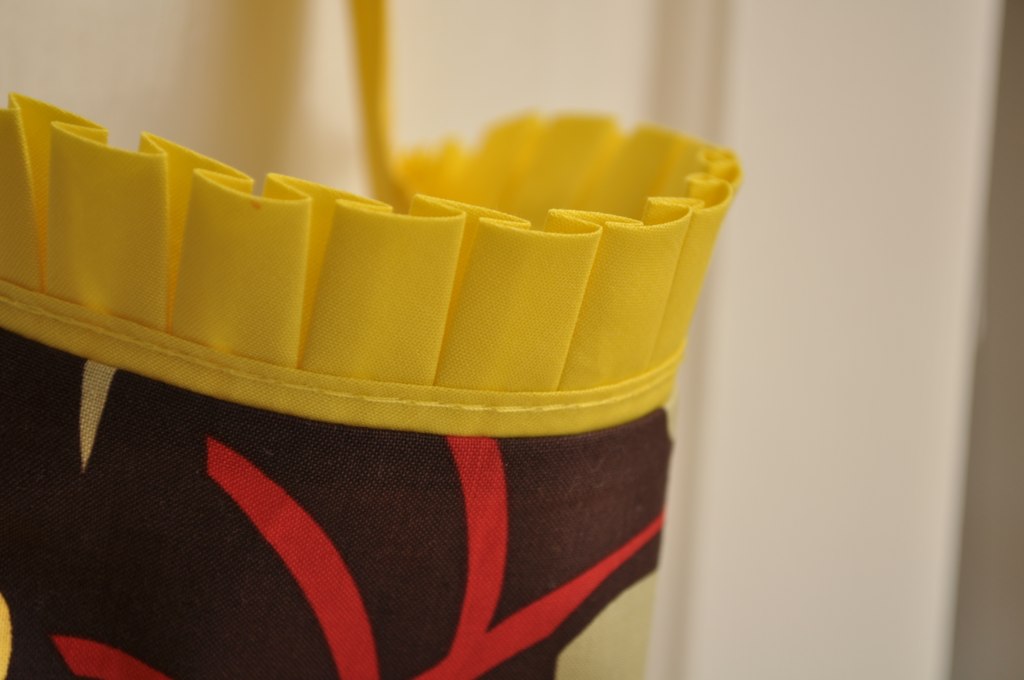
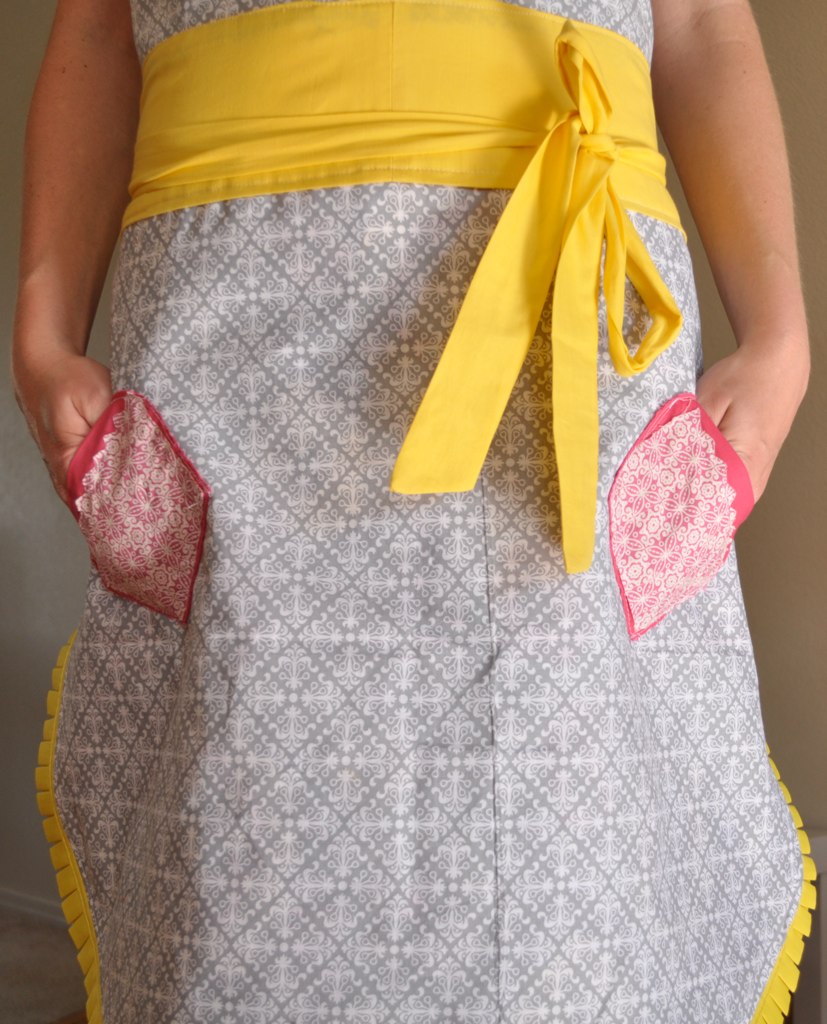
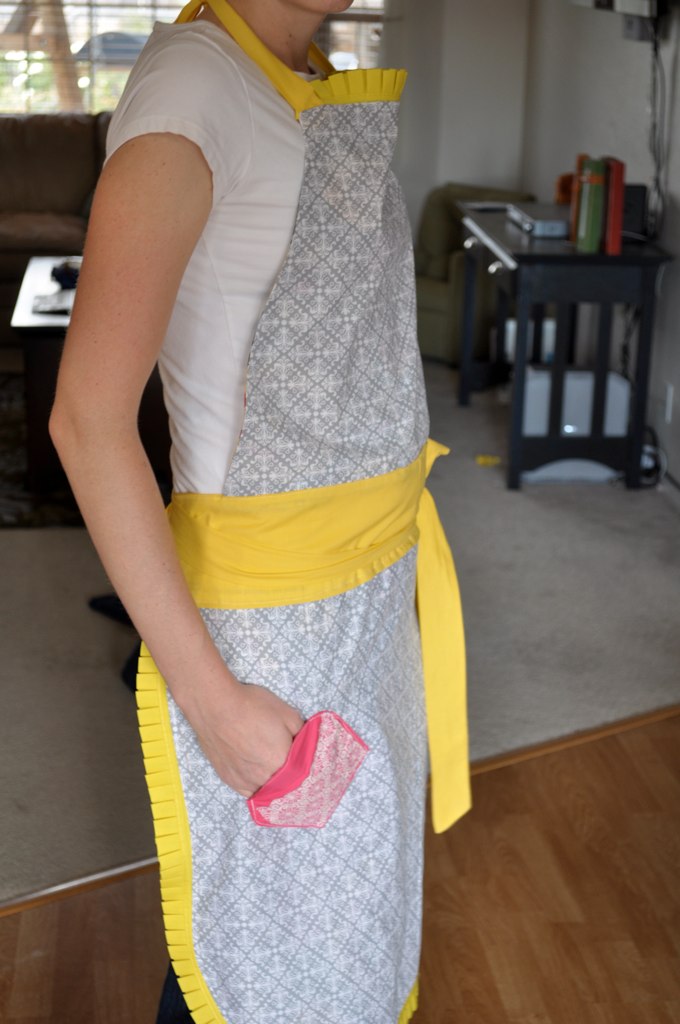
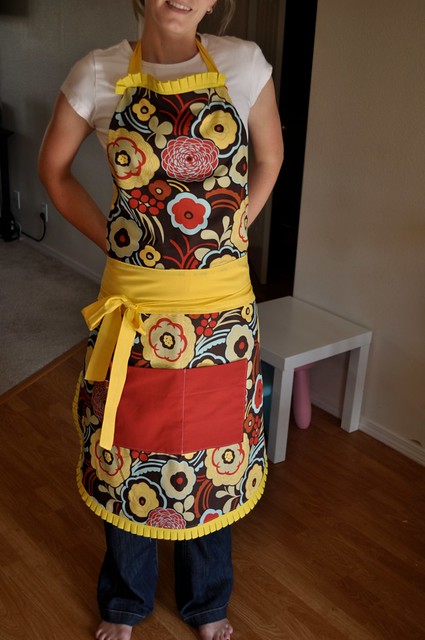
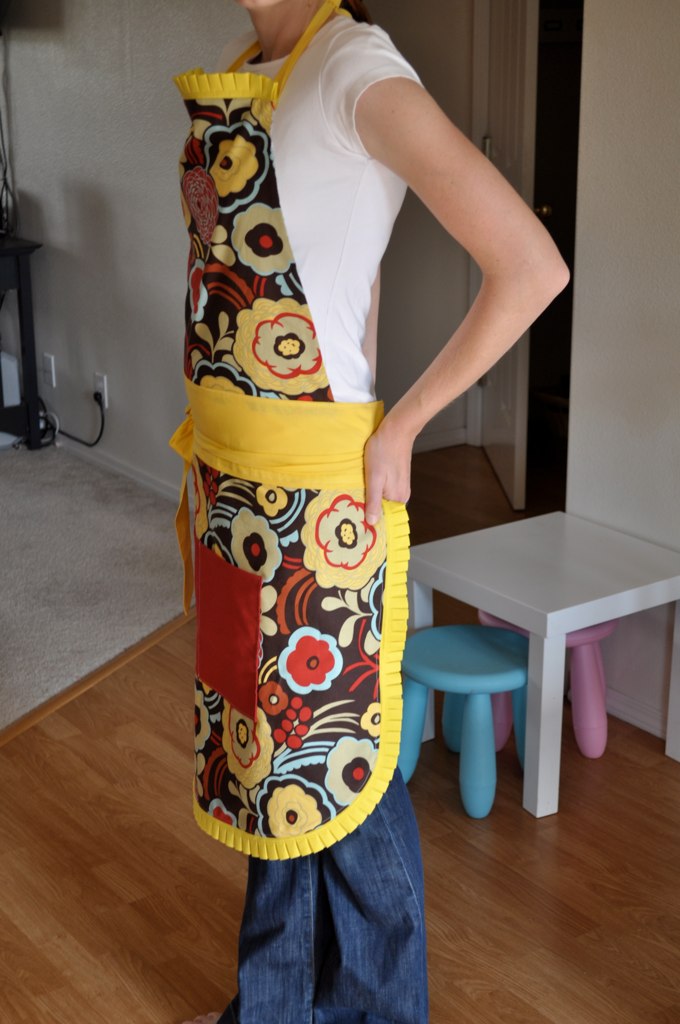
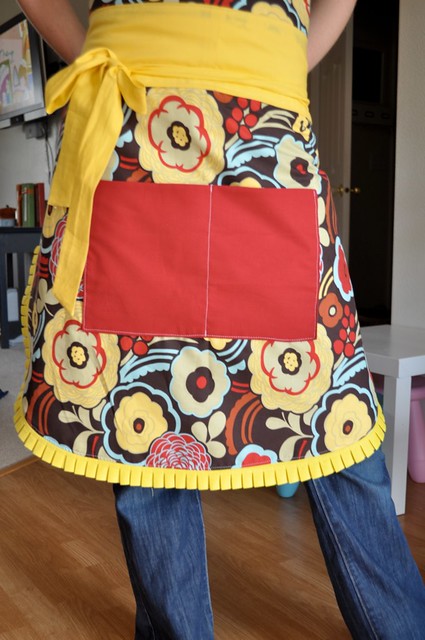
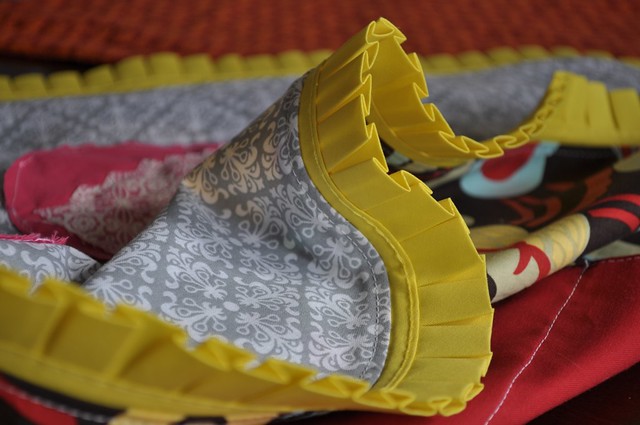
I hit the fabric store and made her a full, double sided apron.
I did change the shape, the pockets, and a little but of the dimensions. It's a little too big. but She is tall like me- so No problem there.

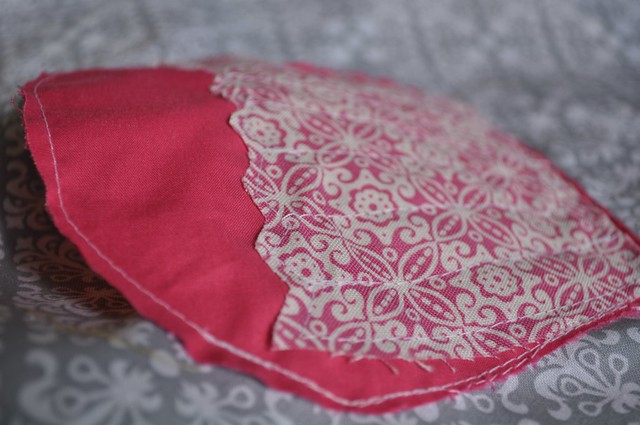
Side one with cupcake pockets :)
Sydney picked them out- I think they are awesome

DSC_0122

DSC_0086

DSC_0102

DSC_0104

DSC_0119

SIDE 2
AW! color
DSC_0116

DSC_0115

DSC_0114

DSC_0112

DSC_0095


Aunt Shel


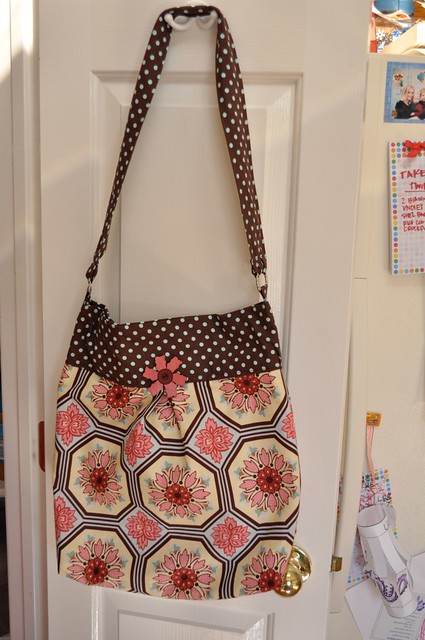
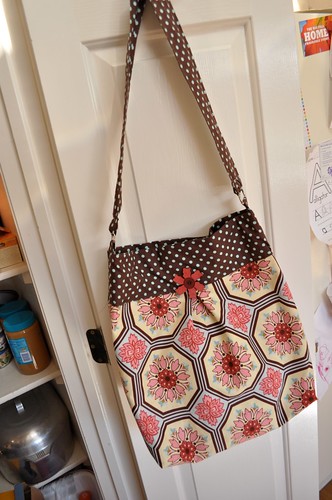
Last of the bags for my Mom is for Aunt Shelly.
I loved all the bags and all the fabrics, but this fabric is the one I identified with the most. Between all the bags- I probably would have chosen this one, or at least the bottom fabric.
DSC_0207

DSC_0211

DSC_0214

DSC_0216

DSC_0218

DSC_0220

Thursday, September 9, 2010

glazed donuts/glazed cabinets, same same.

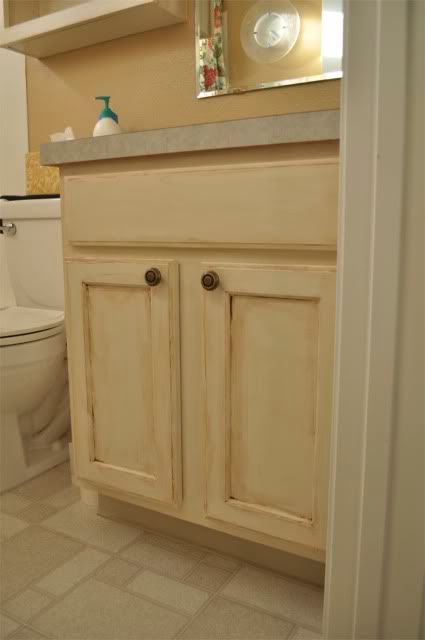
As part of my bathroom painting project I pianted the cabinets. You know the type- I think we have all lived in a place where they have looked like this.
So since I was painted everything else- why not do the cabinets too? update the whole thing.
My goal was to have them look like one of my good friends gorgeous kitchen.
She did her own too. I'm not specific on how she did it- I do know she used a glaze.
I need to find out for future projects.
Here is what you will need....

Latex paint- The color your cupboards will be. I recommend going a shade lighter. After you apply the glaze the cabinets are going to be darker...even if you don't apply it to the whole area of the cabinets the over all will be darker than what you expected.

oil Primer- found anywhere.
Glaze- you can get this smaller bottle at Lowes. It comes in many different colors. My cabinets are mocha.

(you will also need a rag...older, lint-free the better)

Sponge roller - with an extra refill
optional- Paint thinner, makes clean up SO much easier.
I got this Brand at Walmart. I like that it is environmentally safe.

2 paint brushes.
1. A really cheap one. I use for the oil primer so I can just throw away after. oil paint is such a pain to get out of the brush that I would prefer to buy it cheap and toss.

2. A Nice, I used 2 inch angled, paint brush.
After taking off the doors. hardware etc:

First you will need to apply the primer
I do the edging and then roll.
A good heavy first coat is all that I needed. But if you want extra smooth, no grain cupbards do a couple of coats.

Every time I have done oil primer, it takes a while to dry. The first time I did a painting project with it I didn't let it dry enough. it didn't feel tacky, but wasn't dry completely because when I applied the paint topcoat it made it all bumpy. so make sure you let it dry.
Throw away your crappy paint brush and roller refill.

Get out the nice brush, and fresh sponge roller.

Then-
2 coats of paint.
I did it the same way-
edging with paint brush, roll on.
dry.

NOW the fun part. The Glaze.

Do you know how you want the glaze to look on your cabinets?
There are many different ways you can do this-

1.you can have the whole facade of your doors and surface covered in glaze, so that it will seep into little cracks everywhere and rub off the smooth surfaces.
2.you can just do the corners and edging
3. you can only do the doors.

The point is, make sure you know what you want. Me and a friend both did our bathrooms and they both turned out very different....

Take a inconspicuous spot and test.

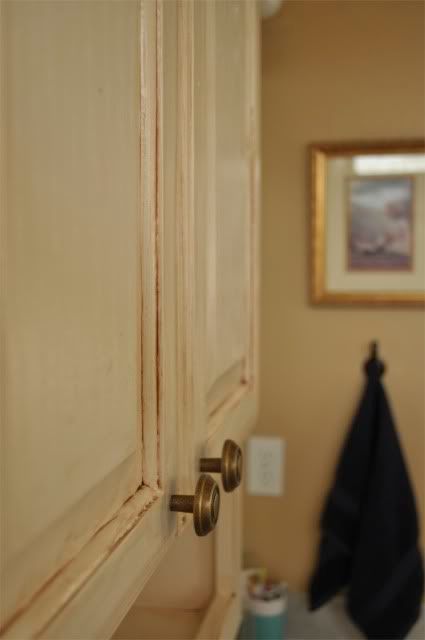
My technique was to have it DARK, in the EDGES and Crevices. I would fade it out slightly but I wanted the middle of the doors and smooth areas to be cream- the original latex paint color.

So I put a quarter size amount of paint on the rag and gently rubbed it in the corners, careful to not wipe it all away. then took the part of the rag that was just damp with glaze and rub beside the corners/edges. So it would tint that area very slightly....
If something got where I didn't want it to, i would wipe with a dry area of the rag and it would wipe away.

That easy.

Allow to dry.

apply hardware and doors.

Here are my before and after pictures. Check here for more.
Photobucket

Photobucket

Photobucket

Photobucket

Photobucket

Photobucket